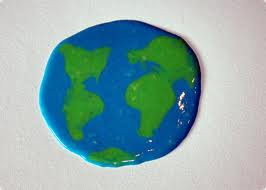
Teach Kids to Love and Care for Earth Natural Crafts!
At Planetpals we believe if you teach kids to appreciate beautiful things on Earth, they will learn to love and care for it! It's that simple. |
|
If you like this you might like these Recycle Crafts:
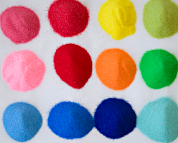
Recycled Crayons!
This is simple and colorful! Kids can make many shapes and mix colors, too. Directions included
Paper Mache Recipes and Patterns:
Planetpals Exclusive!
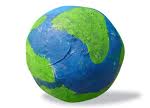
Three Patterns plus recipes! Make the Planetpals, the world, or a Santa Ornament in Paper Mache.
Dryer Lint Crafts
Exclusive Planetpals
Dryer lint clay, Paper Mache and Paper! Three recipes
.
Recycle Paper Clay
Learn how to make paper clay for many things from scrap tubes, egg cartons and other paper discards and recycle.
Paper Making Recipe
Planetpals Exclusive!
Learn how to make paper for many thing from scrap paper and discards and recycle.

Recycle Sand and Jars--Sand Art
Planetpals Exclusive!
Recipe and Directions. Great for any age group! They can do pictorial art or fill jars. Or you can give them black and white coloring pages to fill
.
Natural Play Play Clay 3 more recipes
Cook and No cook recipes to make natural Play dough-see the natural dye recipes below, too!
. |
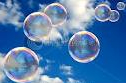
Natural Bubble Soap Solution
Tools needed for this project
- Container like Plastic jar
- 1 cup water
- 2 Tbs light karo syrup or 2 Tbs glycerin
- 4 tablespoons dishwashing liquid
Directions:
- Mix together and have fun!
For Colored Bubbles:
Tools needed for this project
- Containers
- 1 cup granulated soap or soap powder
- 1 quart warm water
- Liquid food coloring
- Plastic straws
Directions:
- Dissolve soap in warm water.
- Stir in food coloring until desired color is attained.
- Give each child a can about 1/3 full of mix and a plastic straw to blow the
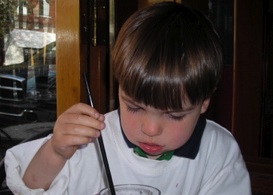
Handmade Paint Brushes for Kids
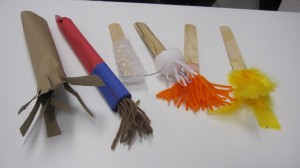
Make paint brushes from a variety of recycled materials! Imagine the different paint effects you can get with different materials. Try many!
Brush Handle Materials Can Include:
Use any of the following: Popsicle sticks, straws, cardboard, styrofoam strips, or toilet paper rolls for handles.
Brush Head Materials Can Include:
*Use Styrofoam food trays for paint! they make great palettes!
Back to the crafts page
Make Non Toxic Glitter
This glitter can be used for almost any type of project and may even be mixed with glue for special crafts
Tools needed for this project
- Baking Pan
- Jar
- 1/4 cup of salt (or granulated sugar)
- 1/2 teaspoon of LIQUID food coloring
- Preheat an oven to 350 degrees
- Oven for 10 mins
Directions:
- 1/2 cup coarse salt (non iodized) or 1/2 cup granulated sugar
- 2 -10 drops food coloring (a drop at a time), adjust for desired color
- Measure salt or sugar into a clear jar with a tight fitting lid. Add food coloring one drop at a time and screw the cap on tightly. SHAKE to combine. Repeat until desired color is reached.
- Sprinkle, dip or shake onto whatever you like. I like to put this in a clear salt shaker for easy shaking or pour some into a saucer and dip the wet rim of an empty glass in it to make the glass pretty!
NOTE:
- Some recipes suggest that you bake in the oven for 10 minutes.
- Paste food coloring can result in smoking
- You may also store it in an air tight container for several months.
- This stays drier and stores wonderfully as is but even better if you spread colored salt/sugar in a thin layer to air dry for about an hour or microwave in 30 second intervals, stir and repeat for about 1-2 minutes or until moisture is evaporated. You can also add a few grains of rice to absorb any moisture. Allow your homemade glitter to cool before using it.
- Temperature extremes (weather) may cause different results
- Be aware that colors like silver are hard to obtain.
Make Non Toxic Chalk Sticks
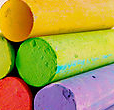
This Chalk washes off with water, You can use it on your sidewalk, too.
Tools needed for this project
- 1 c plaster of Paris
- 1/2 c cold water
- powdered tempera paint or food coloring
- candy/popsicle molds or other (see below)
Directions:
- Combine all ingredients, keeping in mind that the amount of paint used will determine intensity of the chalk color.
- Pour the mixture into candy or popsicle molds.
- Time Required: 15 mins plus drying
- Have fun!
Tips:
- If you line molds with waxed paper will make removal of the chalk easier.
- The chalk works best just after it has dried and is removed from the molds.
- Toilet paper tubes or 5-oz disposable cups may be used as molds.
- Acrylic paint may be used instead of tempera, but may not be non-toxic.
- What You Need
Make another craft!
|
Make Natural Non-toxic Craft Supplies
These are a Natural!
At home or at school this craft is cool!
Make your very own NON TOXIC craft supply recipes from natural materials. *Please note some of these have a short shelf life.
Make Non Toxic Finger Paint
Tools needed for this project
- 1 c. cornstarch
- 3 Tbsp. sugar
- 1/2 tsp. salt
- 2 c. cold water
- food coloring or natural dyes.
Directions:
MIX: Combine all ingredients except coloring in a medium saucepan
- Cook over low heat, stirring constantly, until thickened, about 10 minutes.
- Remove from heat and allow to cool.
- Divide into containers and add coloring.
NOTE:
- This homemade finger paint works best when used immediately.
- It is washable, but you may want to cover and protect things that are not stain resistant before painting.
Make Non Toxic Water Color

Tools needed for this project
- baking soda
- cornstarch
- white vinegar
- light corn syrup (or simply boil one cup sugar and 1/2 cup water until clear)
- food coloring
Directions:
- MIX: Combine 3 tablespoons each of the baking soda, cornstarch and vinegar and add 1 1/2 teaspoons of the corn syrup/sugar substitute.
- Allow the fizzing to subside and mix completely
- Pour the mixture into container(s) - see options below
- Add the food coloring to create colors
- Leave out to harden for three hours.
- Make sure you add the food coloring right away, as the paint starts to solidify almost immediately
NOTE:
- To hold paint you can get a paint tray at the arts and crafts store, use a plastic egg carton, or small jars
Make Non Toxic Puffy Paint
Tools needed for this project
- 1 tbs self-raising flour
- food coloring
- 1 tbs salt
- water
Directions:
- Add little water to make a nice smooth paste
- Place in container
- Store in containers or paint pen tube
Time to draw:
- Paint on a nice thick sheet of cardboard
- Microwave the design on high for 10 to 30 seconds until the paint puffs up, and everything is nice and dry.
Non Toxic Puffy "Snow Paint"
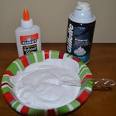
Make melted snowman...a polar bear...stars...moon...snowscene....fun!
Tools needed for this project
- Elmers Glue
- Shaving Cream
Directions:
- mix equal parts glue and shaving cream
Notes:
- place on cut our paper plates, cardboard and other surfaces.
- Puffs up like snow
- Add glitter if you like.
- Don't eat this!
- *Use non toxic natural shave cream if you want this non toxic!
Non Toxic Scratch 'n Sniff Paint"
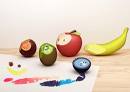
Why not paint fruit-or a strawberry patch or a garden :)
Tools needed for this project
Directions:
- Mix flavored gelatin or Kool aid package into half the water suggested in the package directions.
- Paint
- Let Dry
- Scratch and Sniff !
Notes:
- TIP: Careful, gelatin (especially red) stains hands and clothing
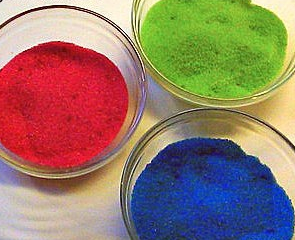
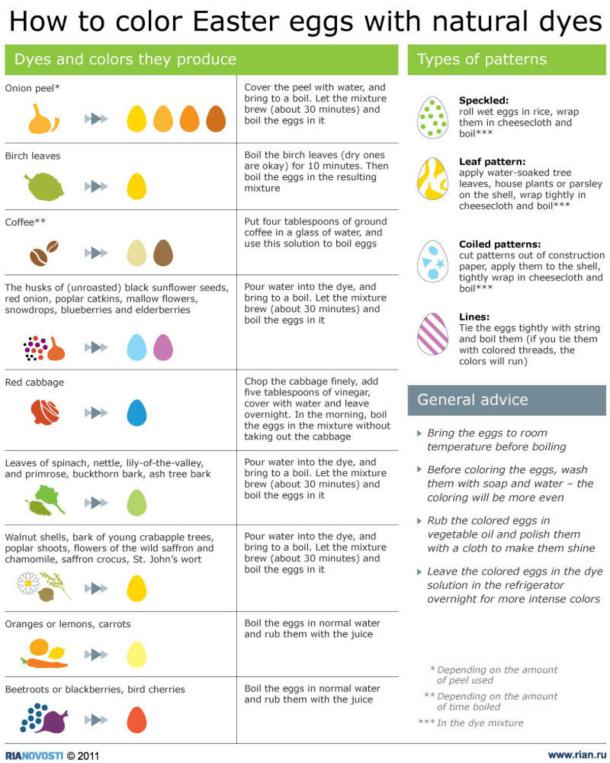
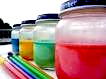
Make Non Toxic Natural Color Dyes

Tools needed for this project
Colored Foods (ie: yellow onions, beets, blueberries and chard -one for each color: yellow, red, blue and green)
- A Saucepan
- Fruit or Veggie
- Water
- White vinegar
- Jars
Directions:
- Put leftover beet tops (or other vegetables) in approx three cups of boiling water.
- Let boil for about 30 minutes
- Simmer on low for a couple of hours
- Strain into a jar
- Voila Color!
- Add a vinegar (about 3/4 mixture to 1/4 vinegar)
NOTE:
- You can use the colors for paint, dying t-shirts, coloring play dough etc
- They have a short shelf life as they are natural and plant-based. But, the vinegar is a preservative and extends the life of the colors
Handy Dye Color Chart:
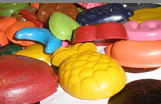
Make Beeswax Non Toxic Crayons

Tools needed for this project
- Saucepan
- Can
- 1 part grated soap
- 1 part beeswax
- Paste food coloring
- Molds
Directions:
- Melt the beeswax in a small clean recycled can placed in boiling water.
- Add the grated soap
- Stir until the soap melts and the mixture is smooth.
- Color the mixture with concentrated paste food colors (available in the cake decorating aisle).
- Pour wax mixture into molds.
NOTE:
- Use separate cans for making individual colors
- After testing the crayon, it can be melted again and more pigment added.
- Use ivory soap or for harder crayons glycerin soap
- Mix colors to make rainbow crayons
- Make shapes-Use ice cube molds, cup cake molds etc-
Make Non Toxic Sidewalk Paint
Tools needed for this project:
- Liquid Food Coloring
- 1 cup of hot water
- 1/2 cup of cornstarch
- Mixing Containers or bowls
- 1 squirt bottle for each color
Directions:
- Pour a 1/4 cup of corn starch into each plastic
- Add a 1/4 cup of water into each bowl.
- Add 6-9 drop of food coloring, and stir.
NOTE:
- After you let your spray sit a while it will separate.
- Shake it really well before you use it each time.
Make Non Toxic Milk Paint
Tools needed for this project:
- Liquid Food Coloring
- milk
- small cups or dish
Directions:
- Add a 1/4 cup of milk into each bowl.
- Add 6-9 drop of food coloring, and stir.
NOTE:
- Great for painting on food. Ie rainbow toast, painted pancakes, etc.
- You can just do small amounts in a flat dish also (mixing as if water)
Make another craft!
This craft is �jag planetpals.com reproduction restricted |
Non Toxic Alternatives for Crafting:
 Pastes: Pastes:
Non Toxic Craft Paste
Non Toxic Paper Glue
Paints, Dyes, Crayons
Non Toxic Finger Paint
Non toxic Water Color
Non Toxic Puffy Paint
Non Toxic Puffy "Snow Paint"
Non Toxic Dyes
DIY Milk Paint
Non Toxic Crayons
Non Toxic Sidewalk Chalk Paint
Non Toxic Scratch and Sniff Paint
DIY Non Toxic Chalk
Dough, Bubble Soap, Glitter
Non Toxic Play Dough
Non Toxic Sand Dough
Non Toxic Cloud Dough
Non Toxic Bubble Soap
Non Toxic Glitter
Non Toxic GAK Silly Putty
Supplies:
Handmade Paint Brushes for Kids
Make Non Toxic Paper Glue
Tools needed for this project
- saucepan
- Cook and stir 1/2 cup of cornstarch
- 1 1/2 cups of water
- 4 tablespoons of light corn syrup
- 2 teaspoons of white vinegar
Directions:
- Mix over medium heat until thickened.
- Remove the mixture from the heat.
- In another dish, mix together 1/2 cup cornstarch with 1/2 cup water.
- Add this to the heated mixture.
NOTE:
- Use glue immediately or store it in the refrigerator for up to two months.
- This homemade glue recipe is great for scrap booking, greeting cards, paper decorations, and other crafts that require transparent glue.
Make Non Toxic Craft Paste
Tools needed for this project
- saucepan
- spoon
- 1/4 c salt
- 1 c flour
- 1 quart water
- jar to put the mixture in
Directions:
- Boil one quart of water in a saucepan.
- Remove from heat and stir in 1/4 cup of salt.
- Gradually add 1 cup of flour, stirring the whole time to prevent lumping.
- Continue stirring until the mixture is the consistency of a very thick gravy.
- Allow the mixture to cool before using.
- You can use the paste immediately or store it in the refrigerator for up to five days.
Notes:
- This craft paste works well for paper crafts and papier-mache projects.
- You may need to add a little more flour or water to achieve the desired result.
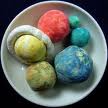
Make Non Toxic Play Dough
Tools needed for this project
- 1 cup flour
- 1/2 cup salt
- 2 tablespoons cream of tartar
- 1 tablespoon vegetable oil
- 1 cup water
- food coloring
Directions:
- Mix the flour, salt, and cream of tartar in a pot. Add the water, oil, and food coloring.
- Cook over medium heat while stirring constantly.
- When the mixture forms a ball in the center of the pot, turn off the stove and let it cool.
- Take it out of the pot knead it several times.
- Store in a Zip lock bag or airtight container in the fridge.
Notes:
More Cook and Non Cook Natural Play - Play Clay Recipes
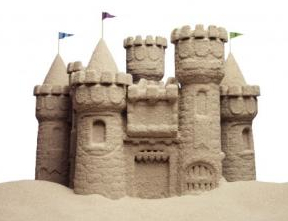
Sand Dough Cooking Recipe
Non cooking recipe below
*NOTE: This will harden!
Tools needed for this project
- 1 cup sand (like play sand)
- 1/2 cup cornstarch
- 3/4 water
- bowl
- spoon
- Measuring Cups
- Waxed paper
- For this cooking-recipe a pan
Directions:
- Place 1 cup sand and 1/2 cup cornstarch into the pan.
- Mix well.
- Add 3/4 water to the pan.
- Stir well
- Cook the mixture over medium low heat, stirring frequently.
- When it is the texture of meatloaf, it's done
- Place between waxed paper and cool
- Knead it
Notes:
- Make sure it cools down before letting kids play with it.
- Takes about 3 days to dry
Alt Recipe-Non Cook Recipe for the dough:
Directions:
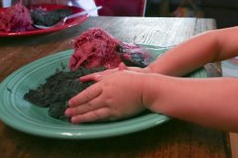
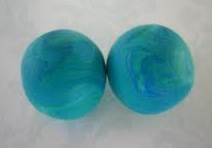
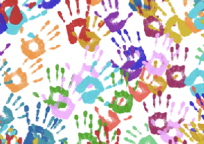
Make Non Toxic Cloud Dough
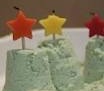 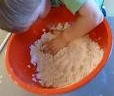
NON Toxic Cloud Dough can be fun for many things!
Use it for sand with construction trucks or use it with molds to make play cookies, cakes and cupcakes, or just make shapes. You can also make hand prints and footprints. The sky is the limit!
Tools needed for this project
- BOWL or TUB
- 4 cups of flour
- 1/2 cup of vegetable oil
- Add vanilla or other flavoring for scent (OPTIONAL)
- food coloring (OPTIONAL)
- Molds (OPTIONAL)
Directions:
- Mix and play!
- Put it in a tub or large baking pan so kids can play with it!
Use food coloring or not
Make Non Toxic Gak Flubber Silly Putty
Tools needed for this project:
- Bowl
- Plastic Cup
- Box Borax Soap
- 1 80z Glue
- Liquid Food coloring
- Water
Directions:
- Empty the entire bottle of glue into a mixing bowl.
- Fill the empty bottle with warm water and shake
- Pour the glue-water mixture into the mixing bowl and use the spoon to mix well.
- Add a couple of drops of food coloring to obtain desired color.
- While stirring the glue in the mixing bowl, slowly add a little of the Borax solution.
NOTE:
- Use separate cans for making individual colors
- As it gets thick, Use your hands to mix.
- Place in a plastic locked bag to keep it fresh
|